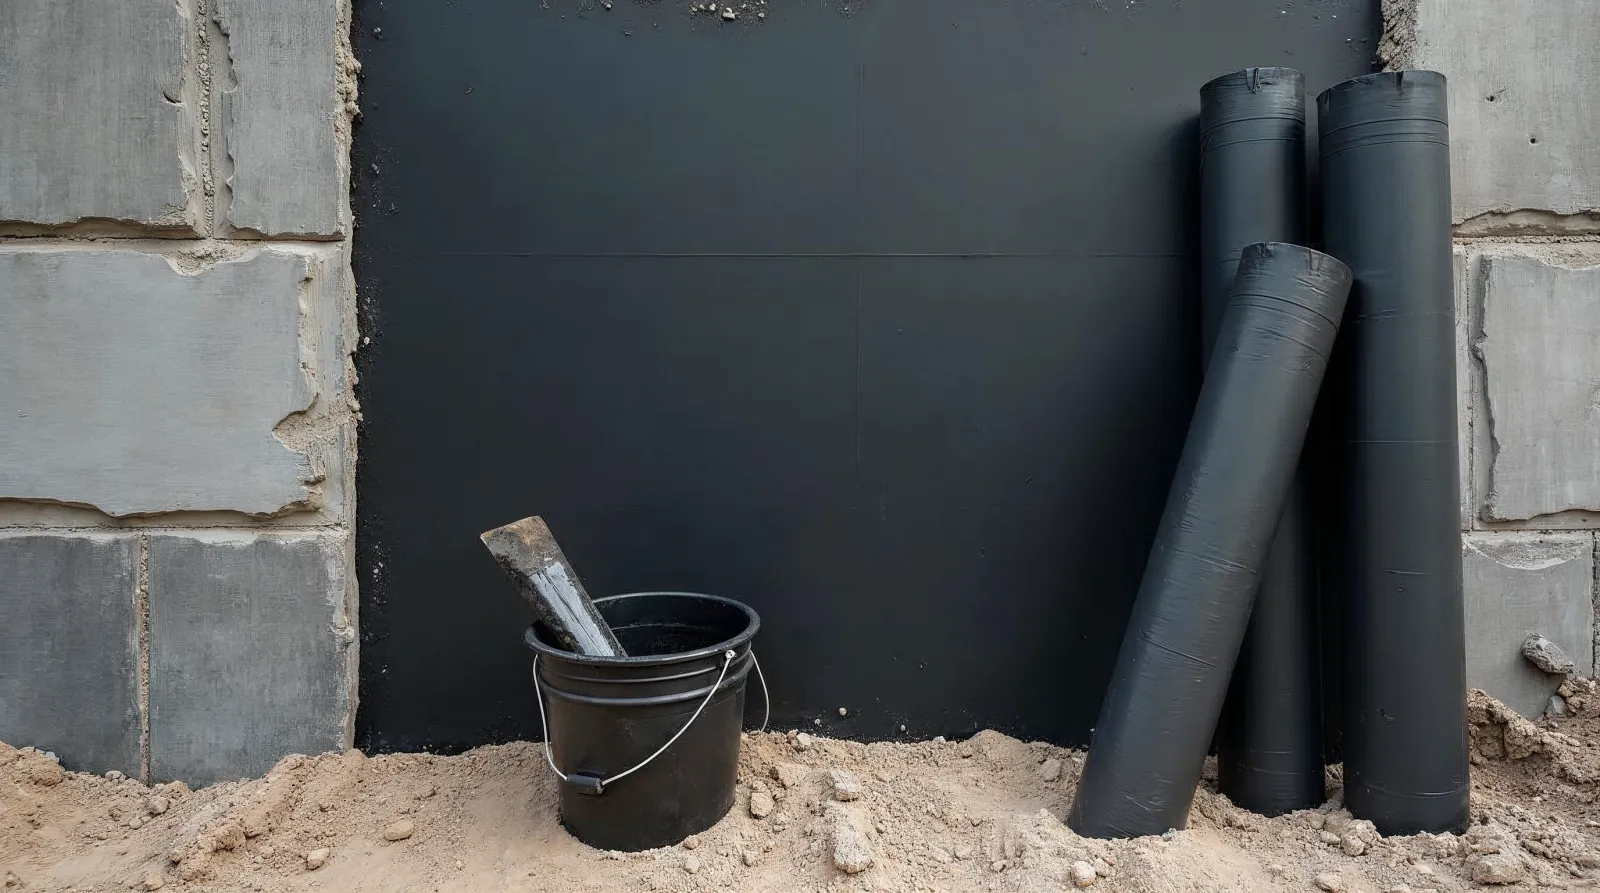
Quality tile installation doesn’t start with glue, but with a reliable water barrier. Moisture that seeps through the joints between tiles will eventually destroy the screed, provoke the appearance of dangerous black mold, and can lead to flooding of neighbors.
It is quite possible to make waterproofing yourself if you strictly follow the technology and choose the right materials. Based on our many years of experience in construction and repairs, we have prepared instructions for using proven professional solutions that guarantee 100% results even when applied independently.
What you will need for work
Before starting the process, prepare the necessary set of tools and materials:
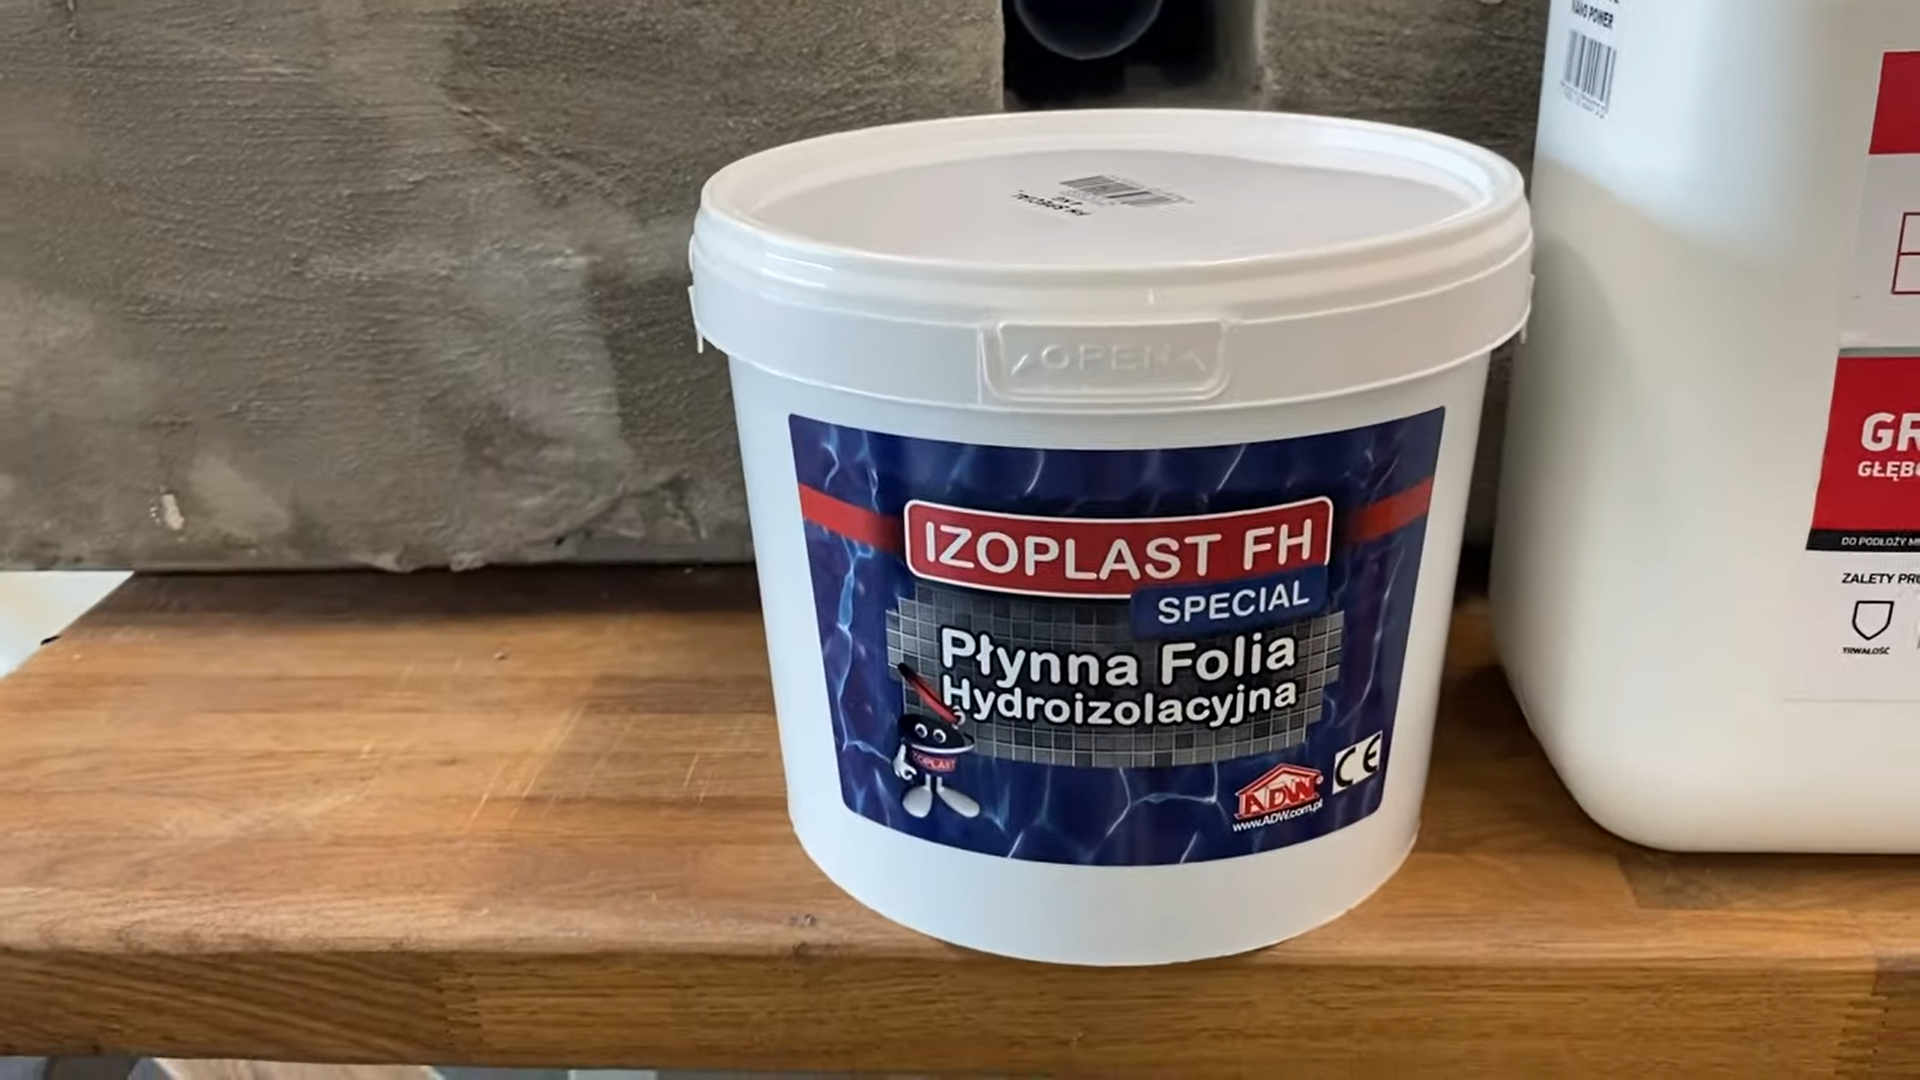
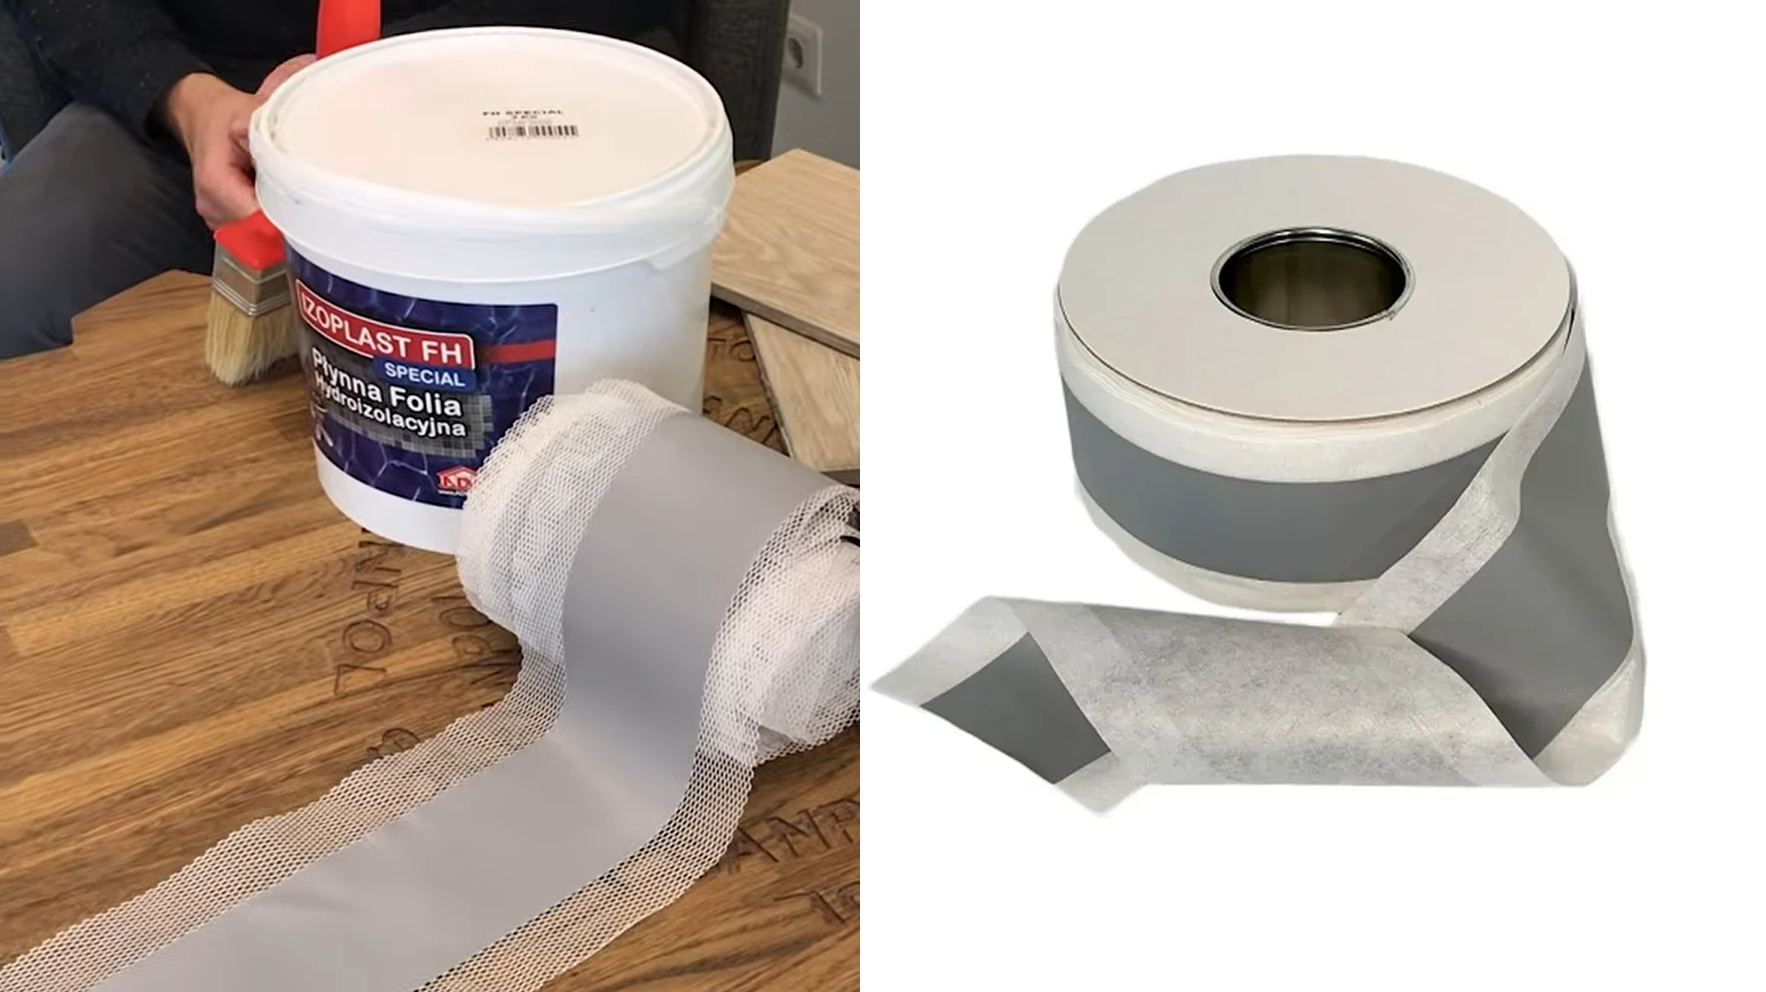
1 Waterproofing mastic: Our company recommends using ready-to-use polymer-acrylic mastic Izoplast FH. It has perfect adhesion, high elasticity and creates a reliable seamless membrane.
2 Special elastic tape: For reliable protection of corners and joints, we recommend using Hydroflex 120/70 mm waterproofing tape. It perfectly compensates for deformations of building structures and prevents moisture from penetrating into the most vulnerable areas.
3 Deep penetration primer (to improve adhesion).
4 Wide brush (brush) or medium-pile roller.
5 Personal protective equipment (gloves, safety glasses).
4 steps to a dry and safe floor under ceramic tiles
The technology for creating a waterproof layer consists of several sequential and mandatory stages.
Step 1. Perfect base preparation
Waterproofing cannot be applied to a dirty or uneven surface.
Cleaning: Thoroughly remove dust, old mortar residue, grease stains and dirt.
Leveling: If there are cracks, potholes or significant differences in the floor or walls, fill them with a repair compound. The surface must be even and strong.
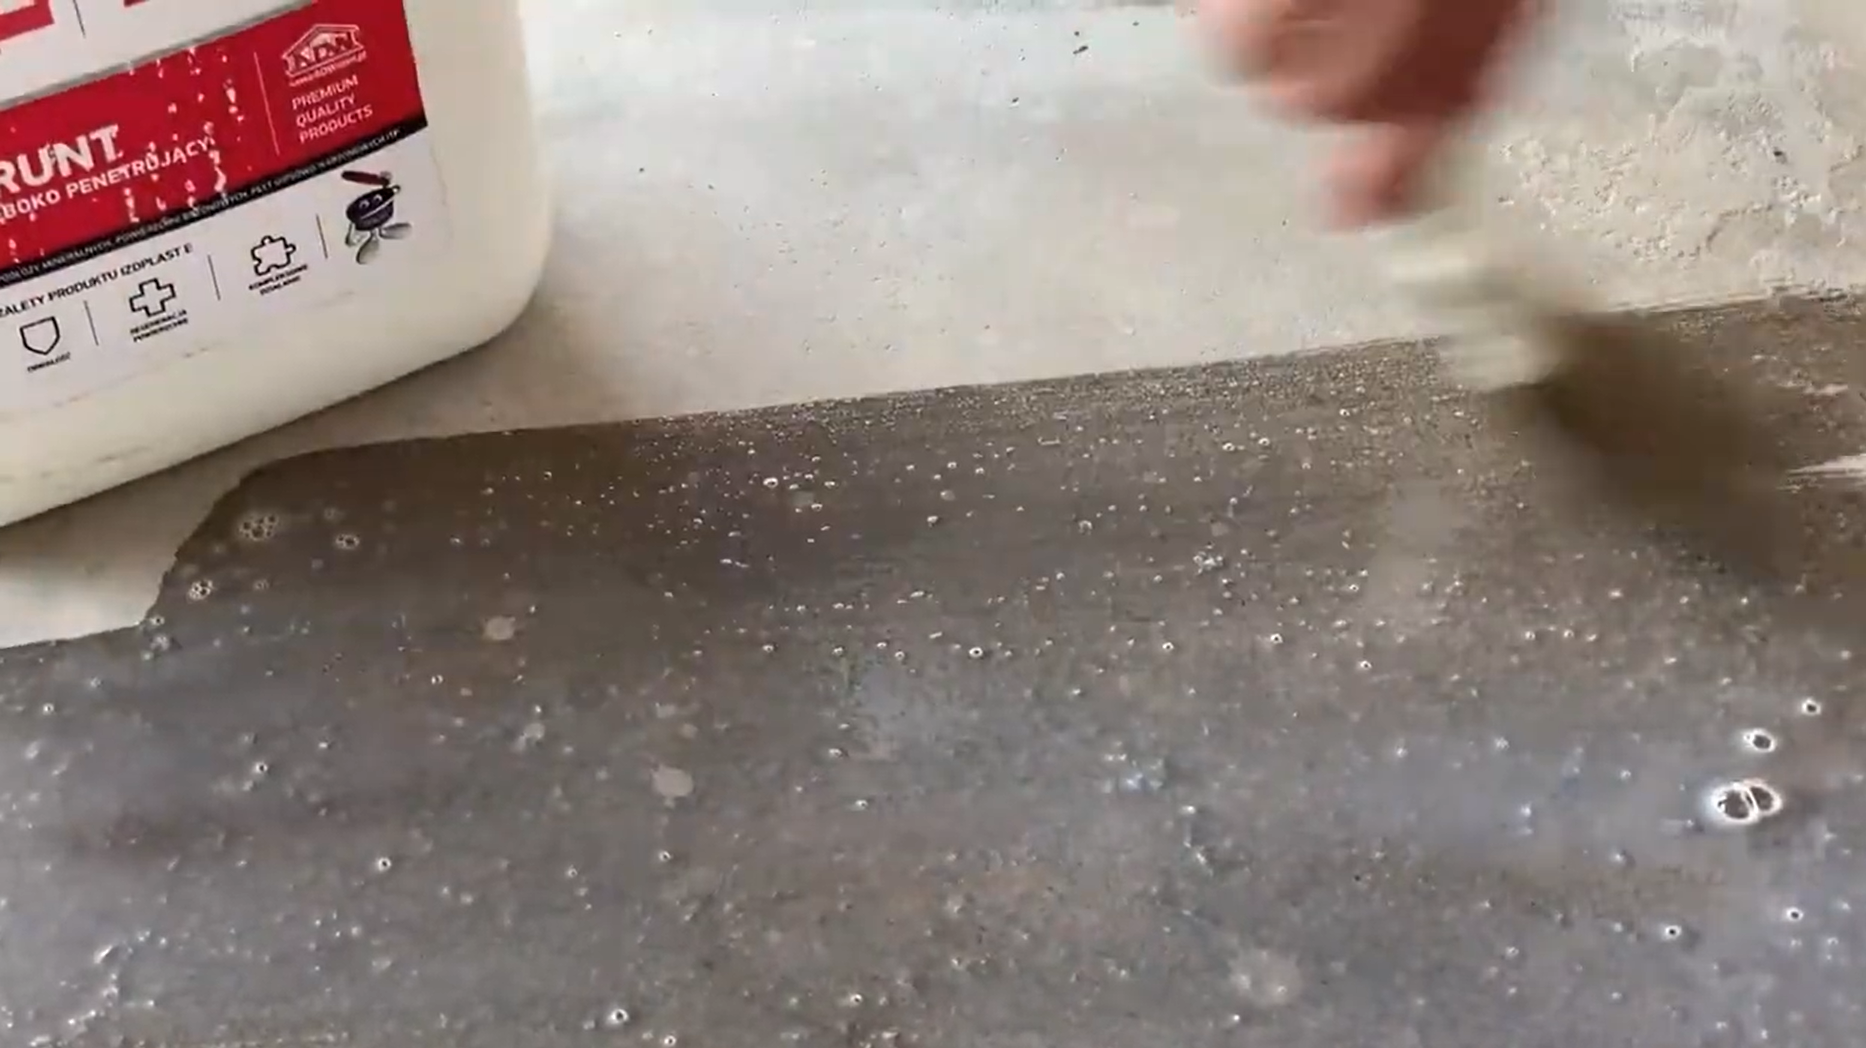
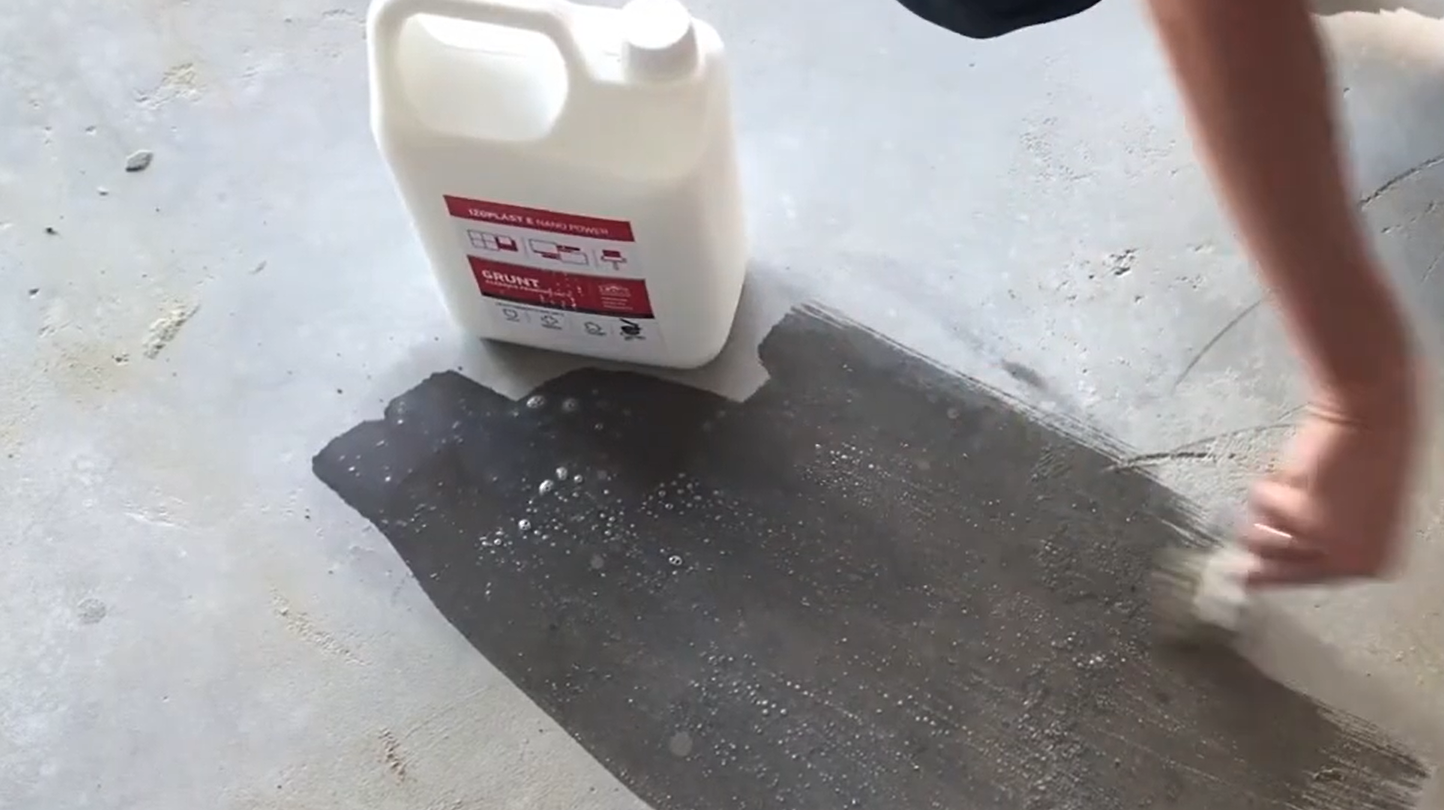
Priming: Apply 1-2 coats of a deep penetration primer. This will strengthen the substrate and reduce moisture absorption, ensuring a good bond with the mastic. Allow the primer to dry completely (usually 2-4 hours).
Step 2. Reinforcement of critical areas (Corners and joints)
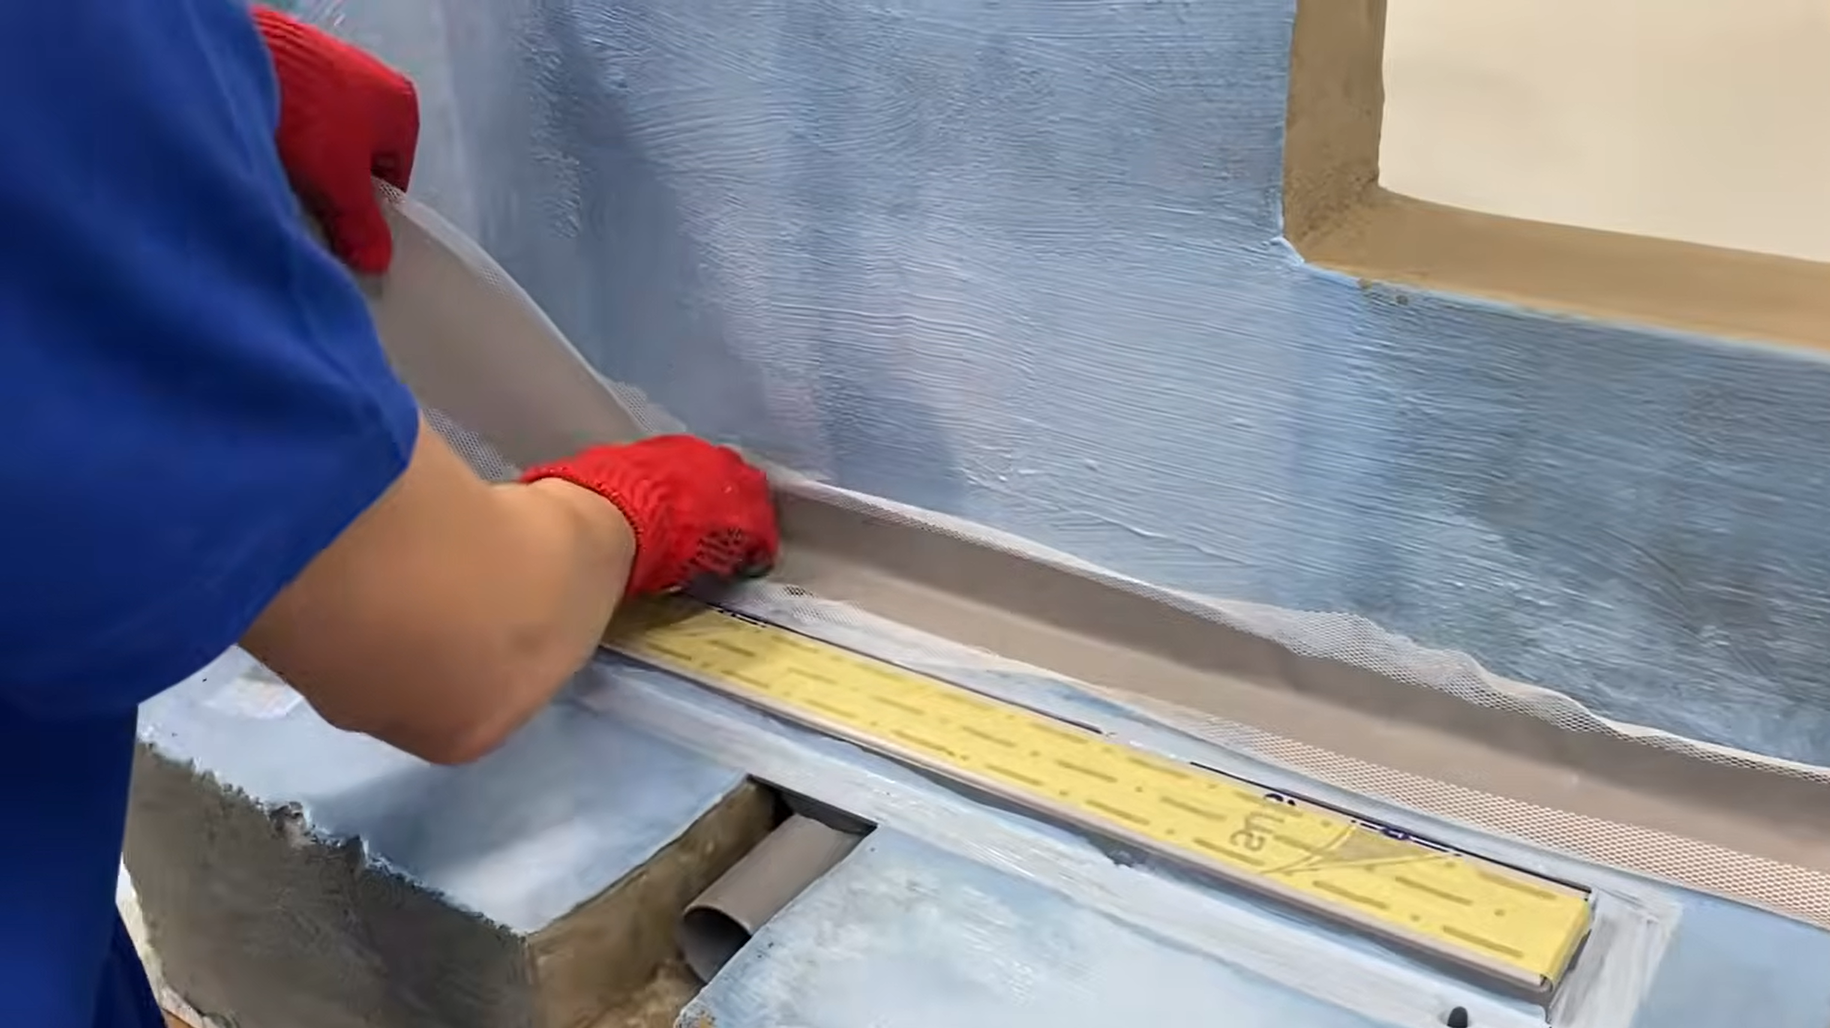
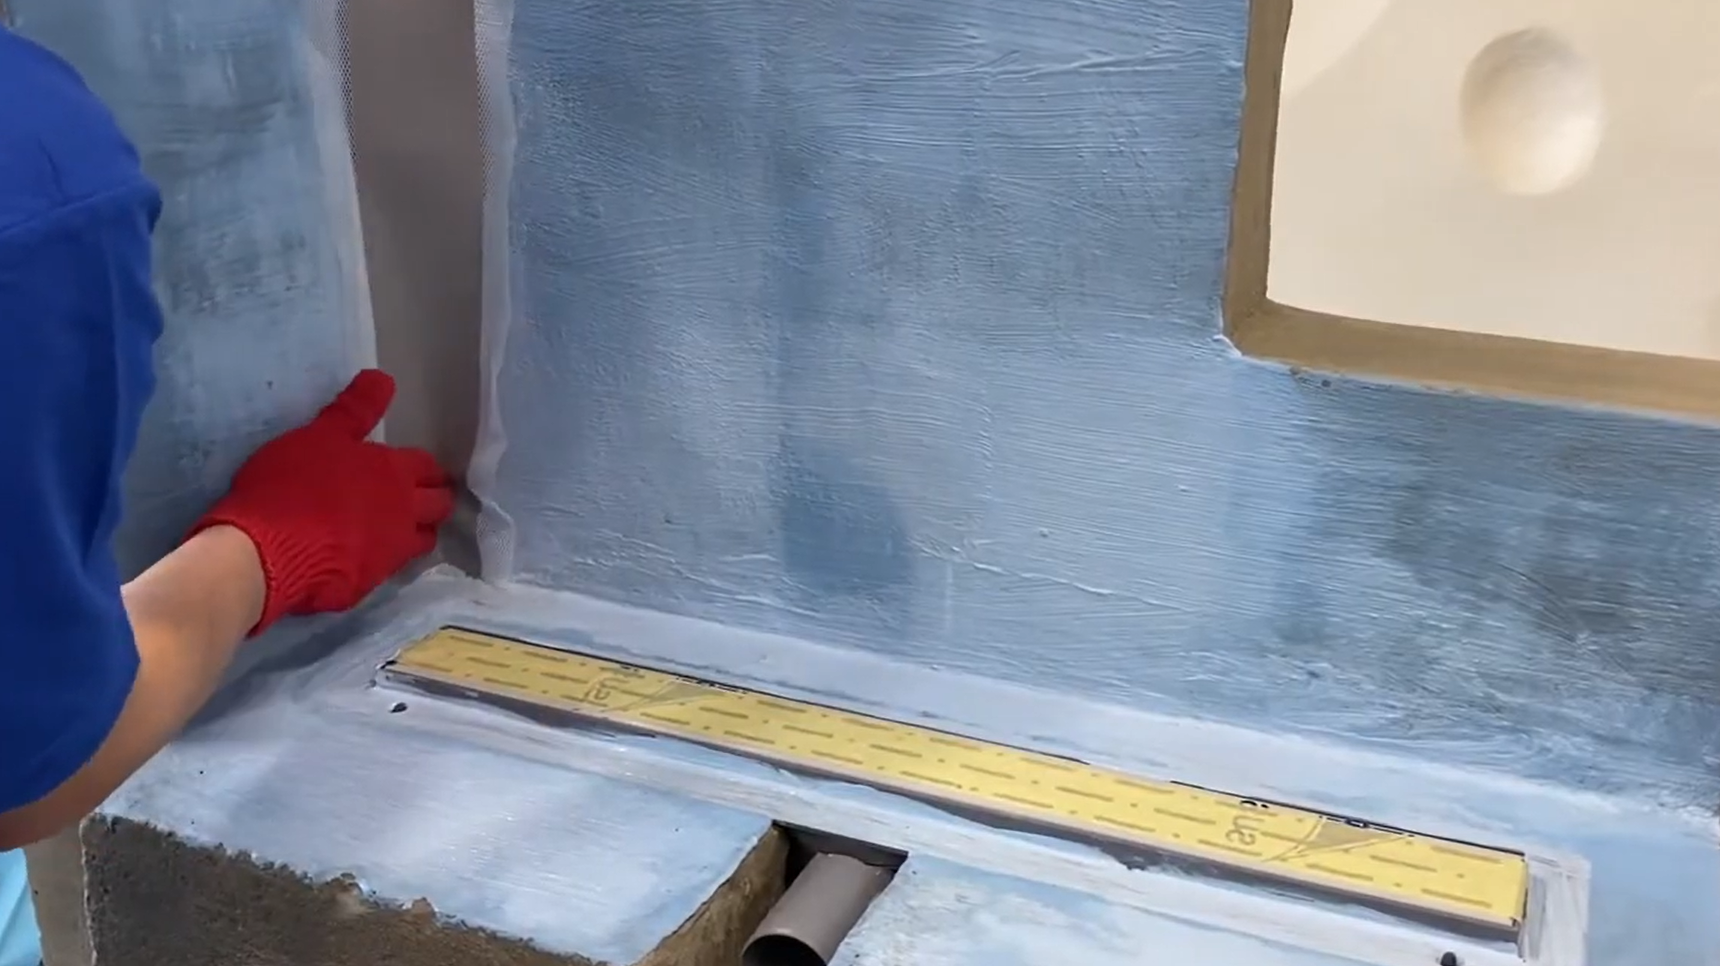
The most vulnerable places for water leaks are corners (between the wall and the floor, between walls) and areas around pipes. Our experience shows that this is where the most mistakes are made, so we recommend doing the following:
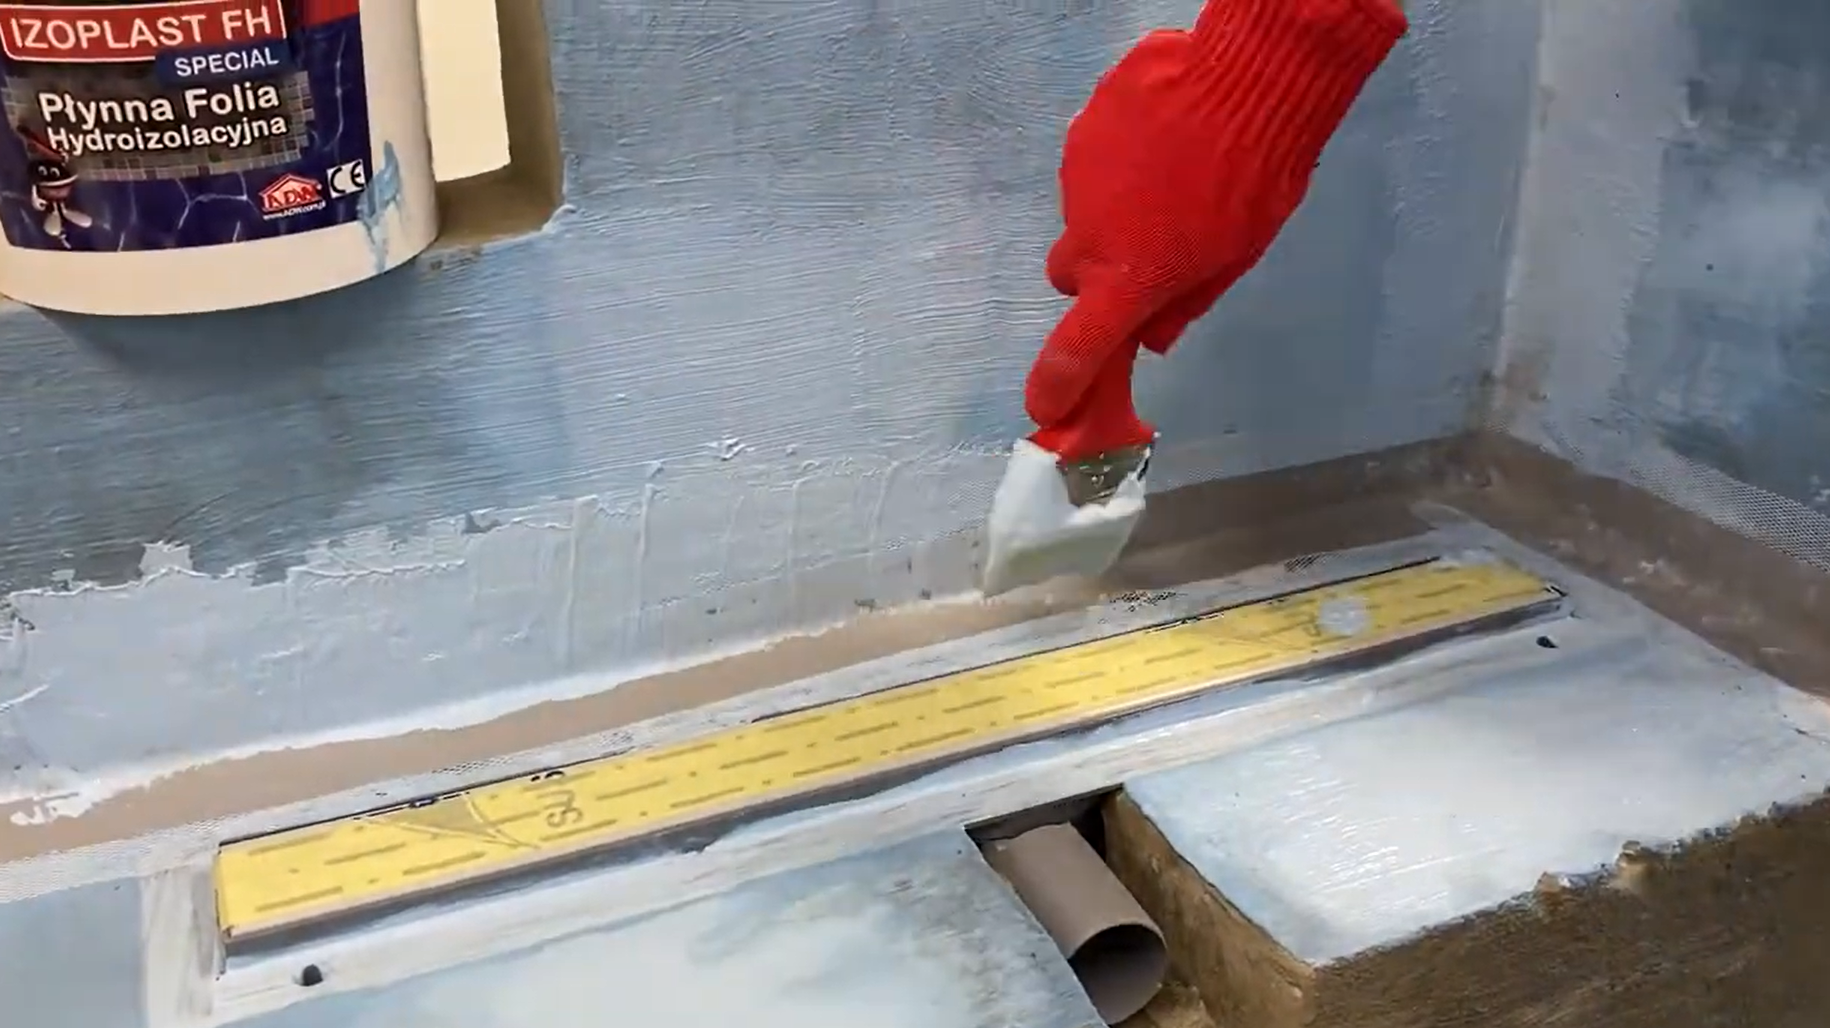
Apply Izoplast FH mastic liberally to all corner joints with a brush.
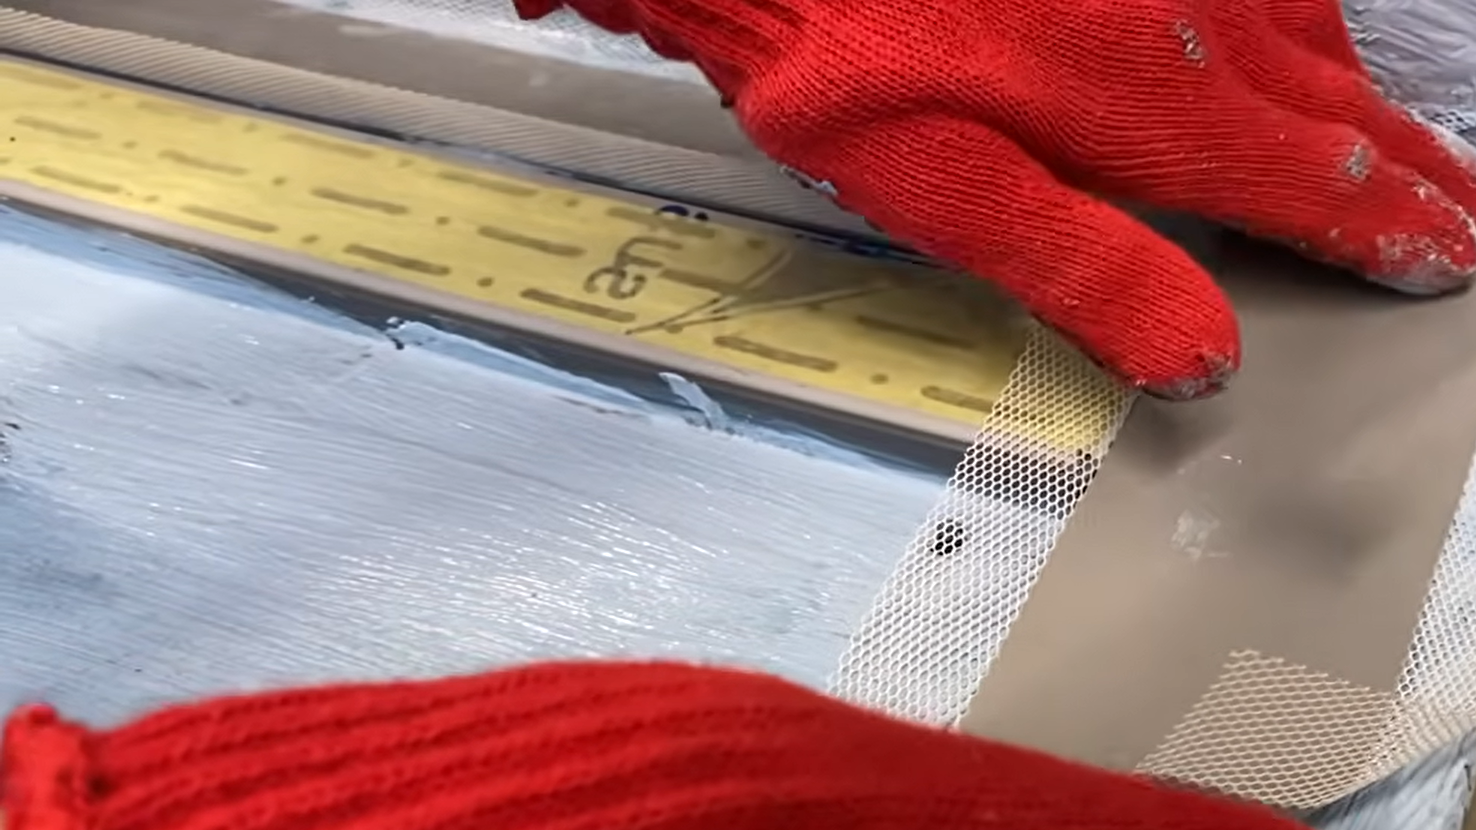
Embed the Hydroflex elastic tape into the fresh layer of mastic, carefully leveling it with a spatula or brush from the center to the edges so that there are no air bubbles under it.
Install special waterproofing sleeves at the points where communications (pipes) exit or similarly tape them.
Cover the tape with another layer of mastic on top.
Step 3. Applying the first base coat
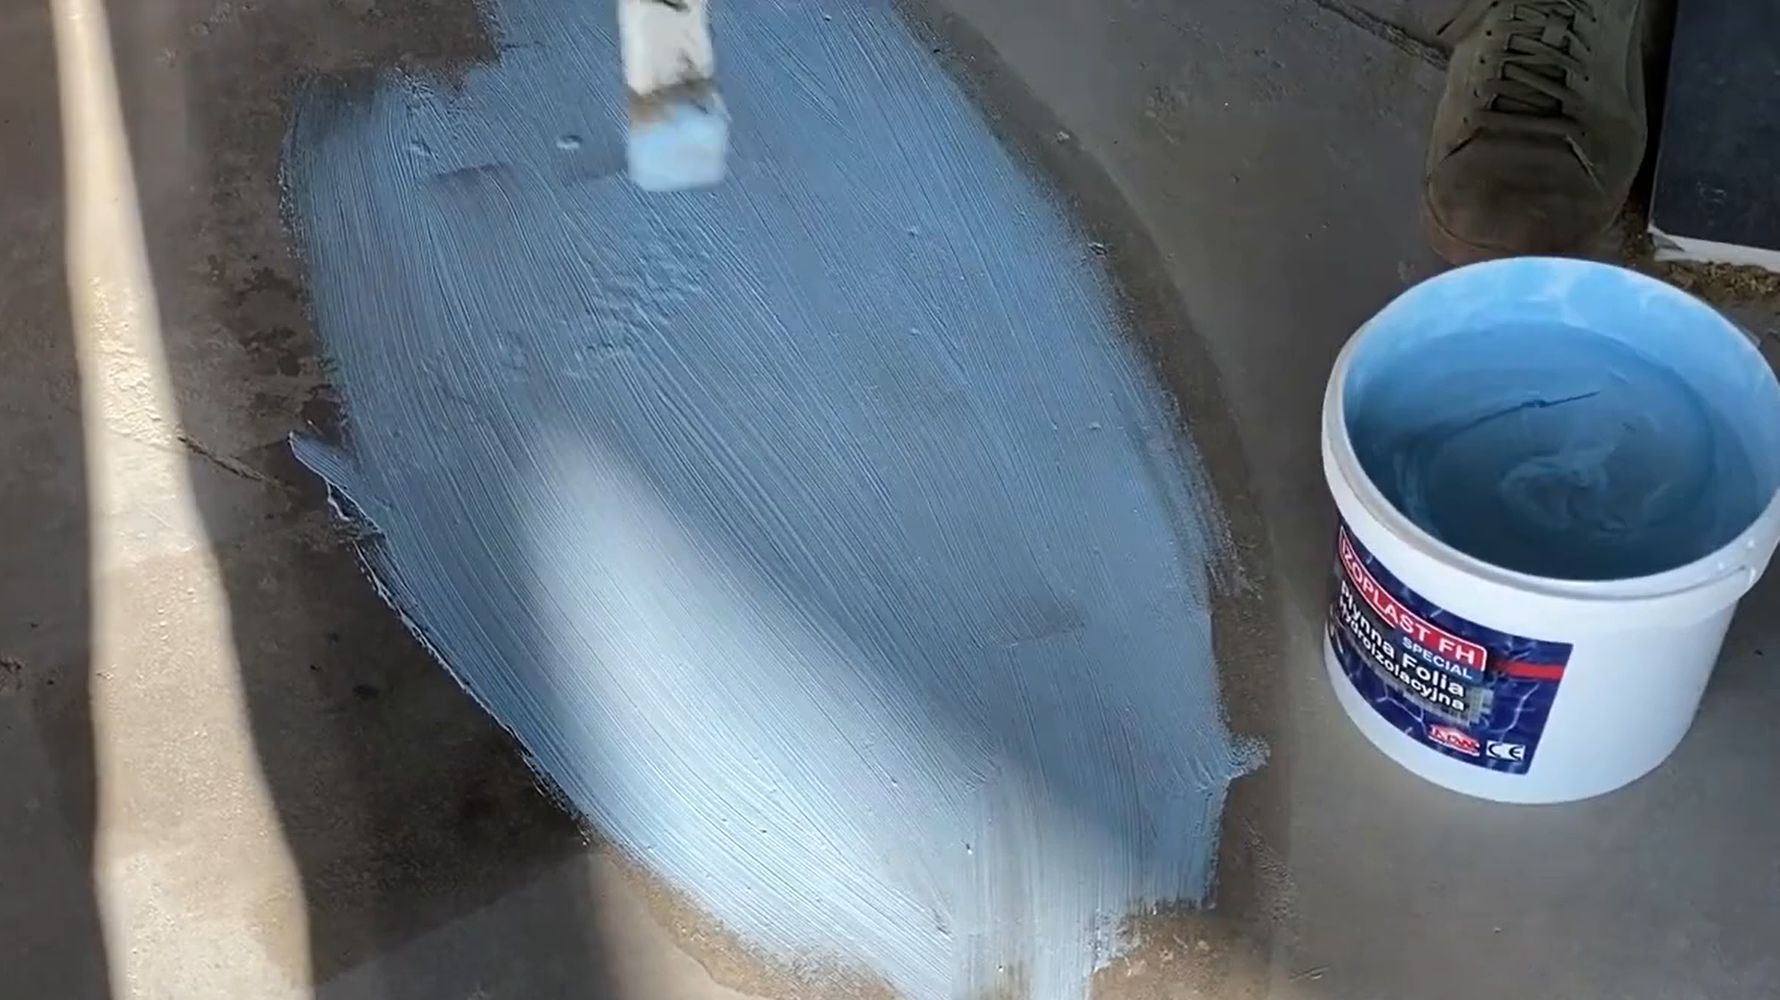
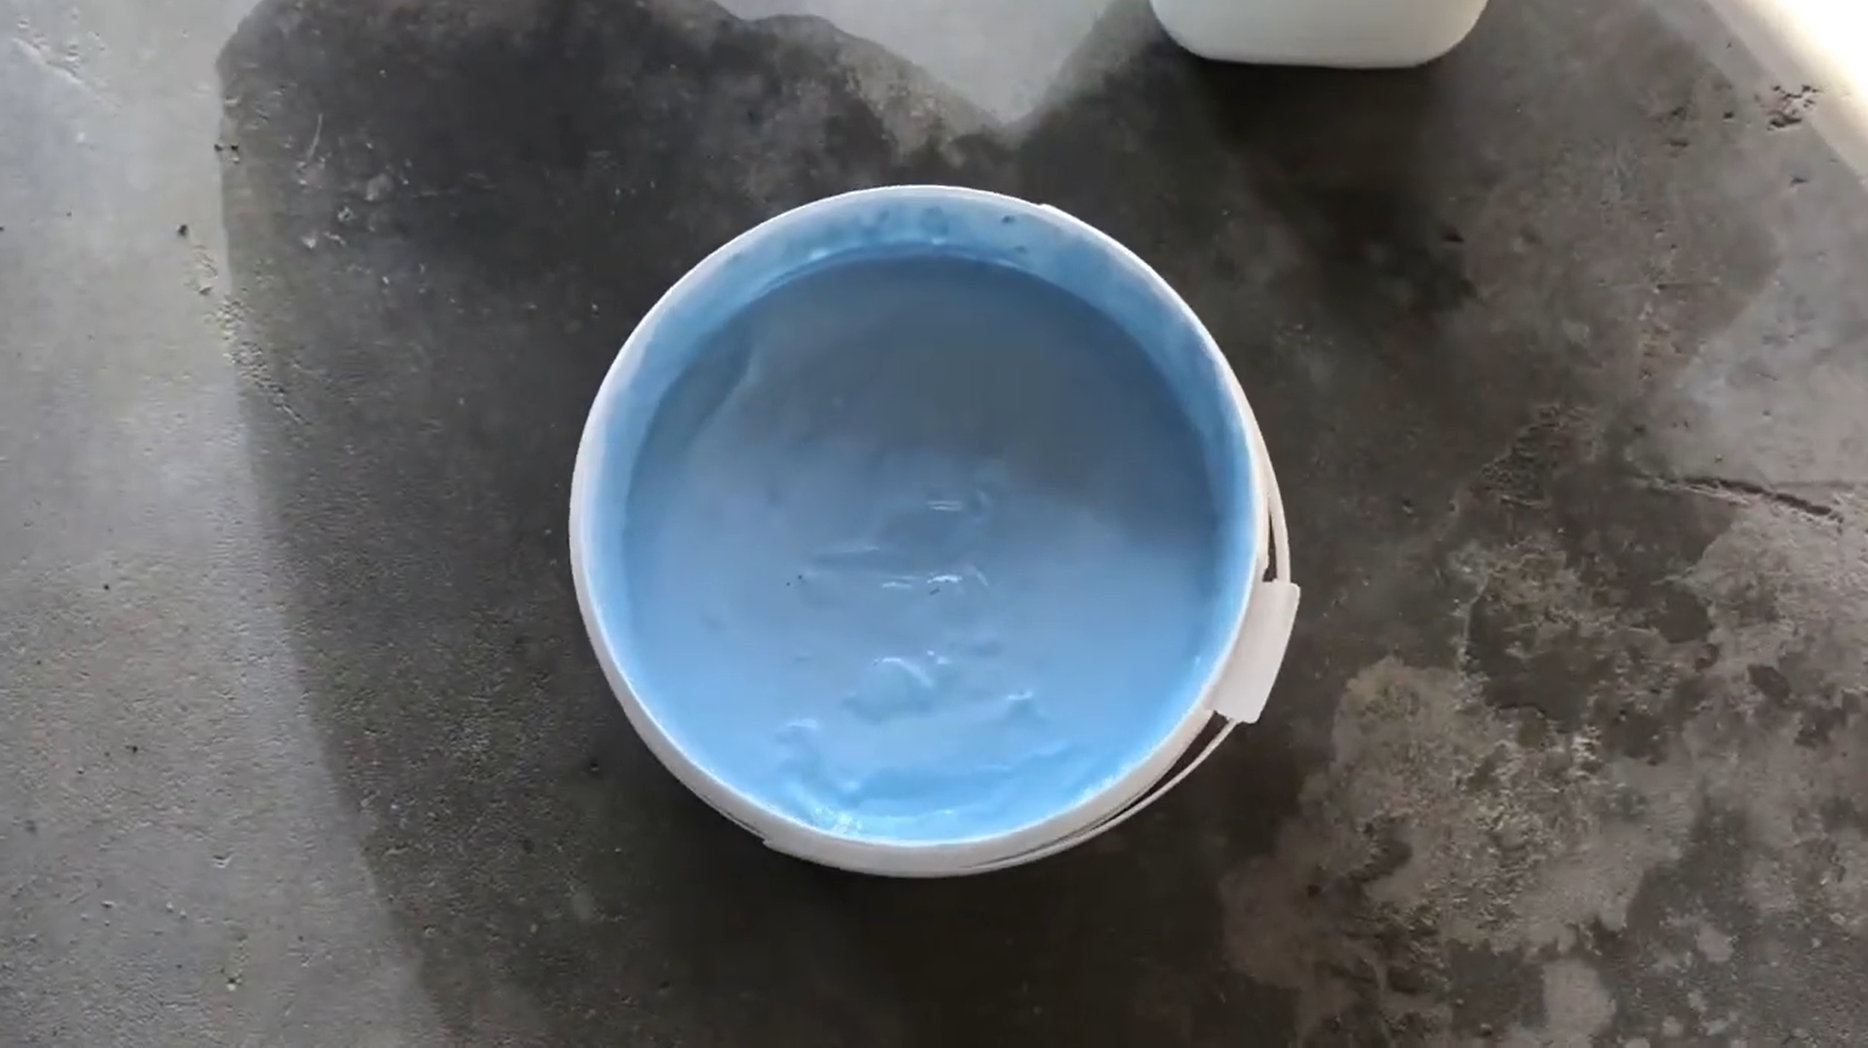
Mix Izoplast FH mastic thoroughly in a bucket before use.
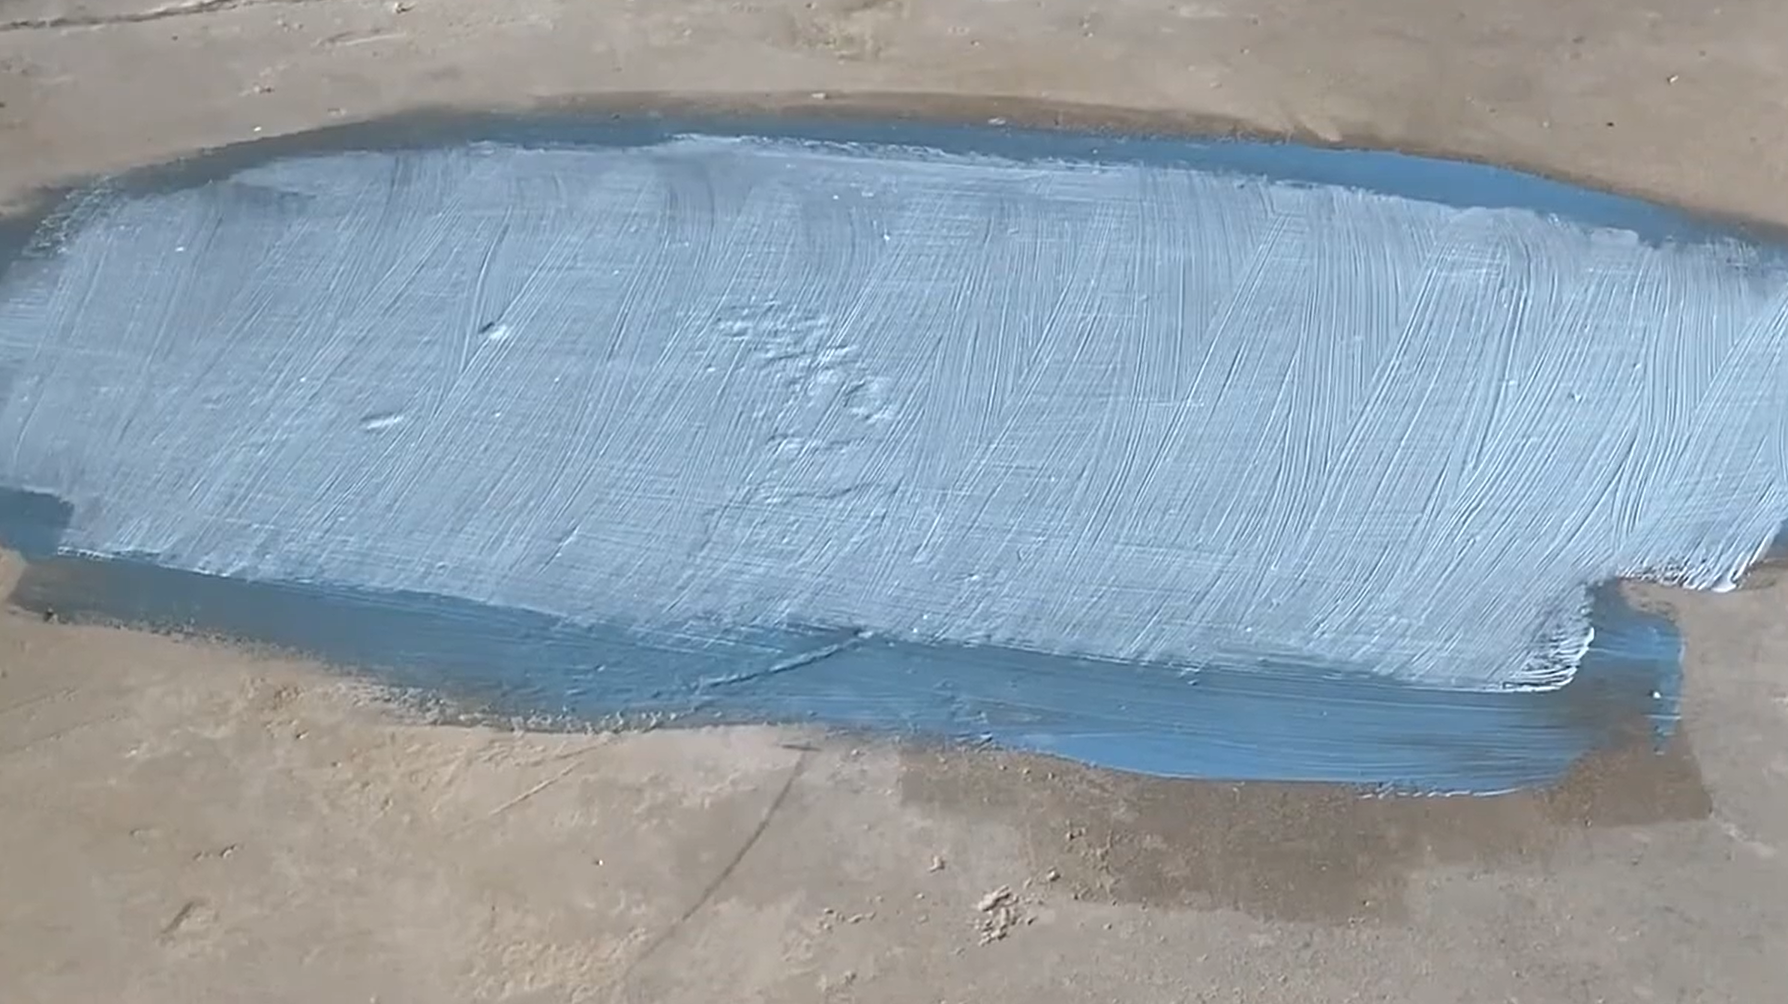
Using a roller or large brush, start applying the mixture to the entire floor surface. On walls (especially in the shower or bathroom area), the mastic should be raised at least 15–20 cm above the floor level, and in the area of direct water contact — 1.8–2 meters.
Apply the mixture evenly, moving the tool in one direction (for example, vertically).
Step 4. Applying the second layer («Rule of the Cross»)
One layer of waterproofing does not guarantee 100% protection, as microscopic pores may remain.
Wait until the first layer has cured (for Izoplast FH this is usually 2 to 4 hours, depending on temperature and humidity). The surface should no longer be sticky.
Apply a second layer of mastic. The main rule is to apply it perpendicular to the first (if the first layer was applied vertically, then the second layer horizontally). This will reliably cover all possible gaps.
Tips from our experts for the perfect result
Waiting time: Do not rush to lay tiles on wet mastic, the glue will not set properly, and the protective barrier will be irreversibly damaged. After applying the finishing layer of waterproofing, it is necessary to withstand a technological pause. As a rule, complete drying (polymerization) of the mastic takes from 24 to 48 hours.
Temperature conditions: Carry out work at temperatures from +5°C to +25°C. Too high a temperature will cause the mastic to dry too quickly, which can lead to the appearance of microcracks.
Quality check: After the second coat has dried, carefully inspect the coating. It should look like a solid, elastic «rubber» membrane without any gaps or bubbles. If you notice a gap, apply an additional local coat.
Here you can purchase a full range of waterproofing materials and get professional advice from our technical specialists. We will help you choose the right accompanying materials, calculate their exact quantity, and give practical advice based on the specifics of your premises.
Products from this article